


14 Rules for Building a Better Photo Library
You probably don't know where the photo you're taking today will end up.
It might end up on your homepage next month. It could become an Instagram post next semester. Two years from now, you might pull it into an enrollment ad, annual report, postcard, or presentation that doesn't even exist yet.
That's the challenge with school photography. You're capturing a moment today while trying to create an asset that can serve your communications long after it's gone.
You can't predict every future use. But you can avoid unnecessarily limiting them.
The best school photo libraries aren't filled with hundreds of versions of essentially the same shot. They're filled with high-quality, authentic photographs that give communicators and designers options.
Here are 14 ways to build a better photo library:
1. Get on the student's level
Move your feet. Get closer. Kneel down.
When you're photographing younger students especially, it's easy to stand at adult height, point the camera down, and ask them to look up. The result is a photograph from an adult's perspective, not one that puts the viewer in the student's world.
Change your position instead. Get closer to their eye level and photograph the moment from where they're experiencing it.
And zoom with your feet, not your fingers. Pinching to zoom on a smartphone usually means digitally cropping the image before you've even taken it, sacrificing resolution and limiting what you can do with the photo later. Move closer whenever you can. If you're using a camera with optical zoom, that's a different story.

2. Know when you want eye contact
A student looking directly into the camera can create an immediate connection with the person viewing the photo. That's particularly valuable for portraits, enrollment marketing, and other photography meant to introduce students and their experiences.
But eye contact isn't a requirement for every photograph. If students are experimenting, rehearsing a scene, building a robot, throwing a pot, or debating a question, let them. Asking everyone to stop and smile at the camera can turn an immersive moment into a staged one.
That doesn’t mean the back of someone’s head tells the story. Move around the room and find an angle that lets you see the students’ faces while they remain engaged in what they’re doing. You don’t need eye contact to capture expression.
Know the story you're trying to capture before you interrupt it.

3. Compose with the rule of thirds
The center of the frame doesn't automatically need to be the focal point.
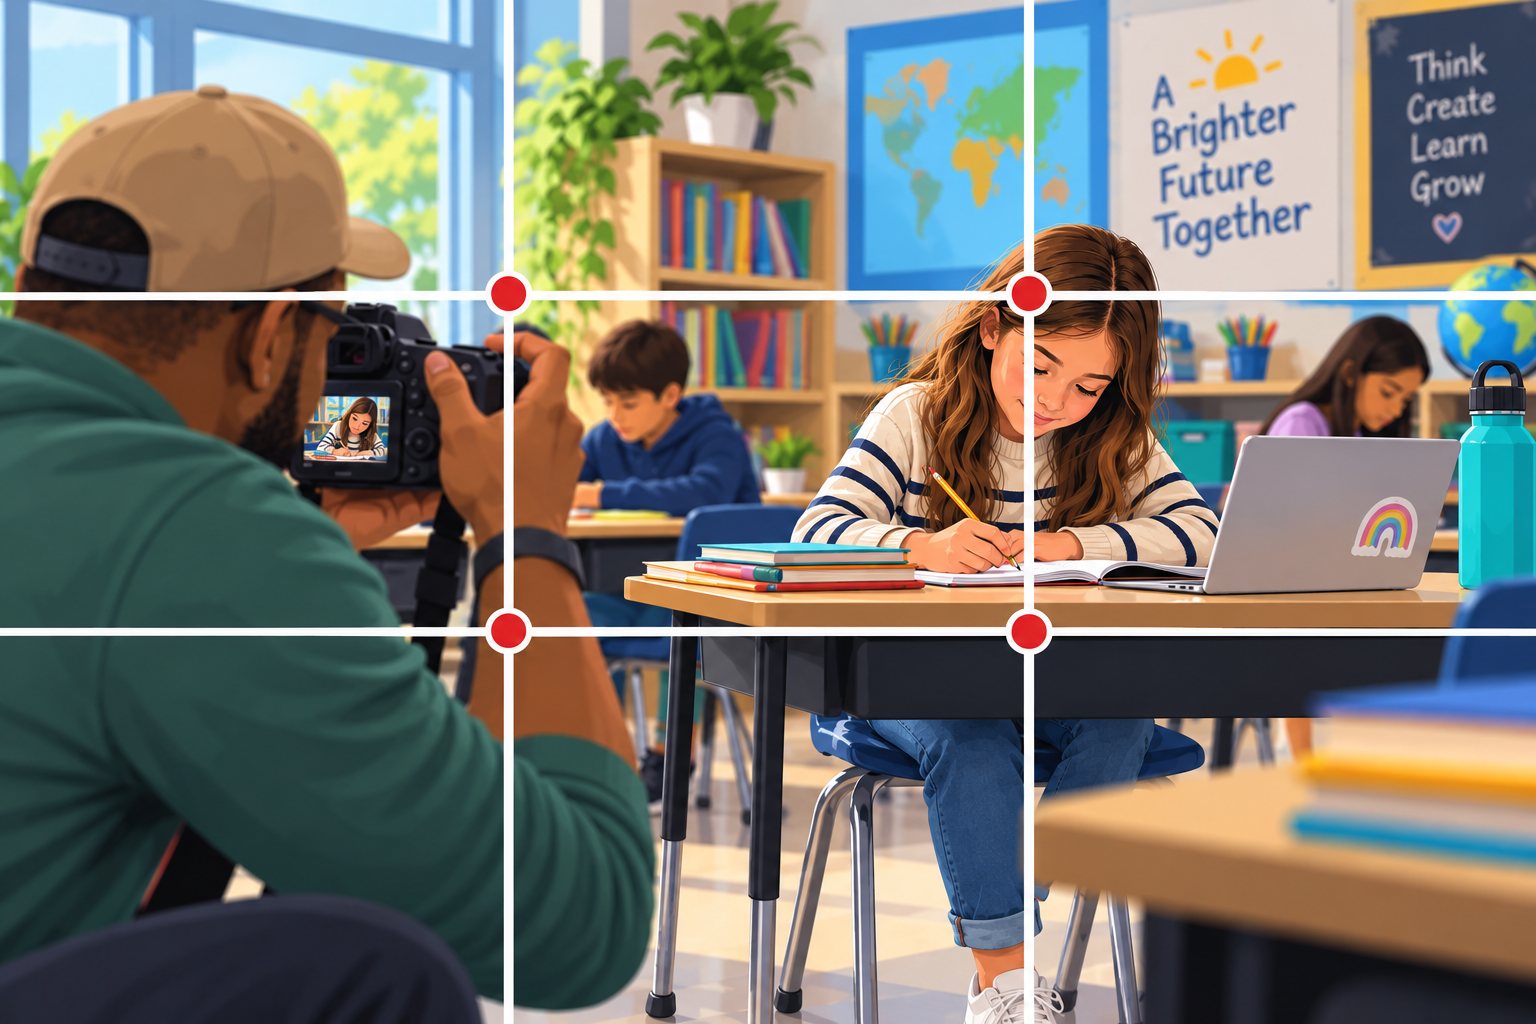
Imagine dividing your frame into thirds horizontally and vertically. Placing your subject along those lines or near their intersections can create a more interesting composition while leaving useful space elsewhere in the image.
That space can become particularly valuable later when a designer needs room for a headline, graphic, or other content.
4. Give yourself room to crop
Today's perfect horizontal photo may need to become tomorrow's vertical Instagram Story.
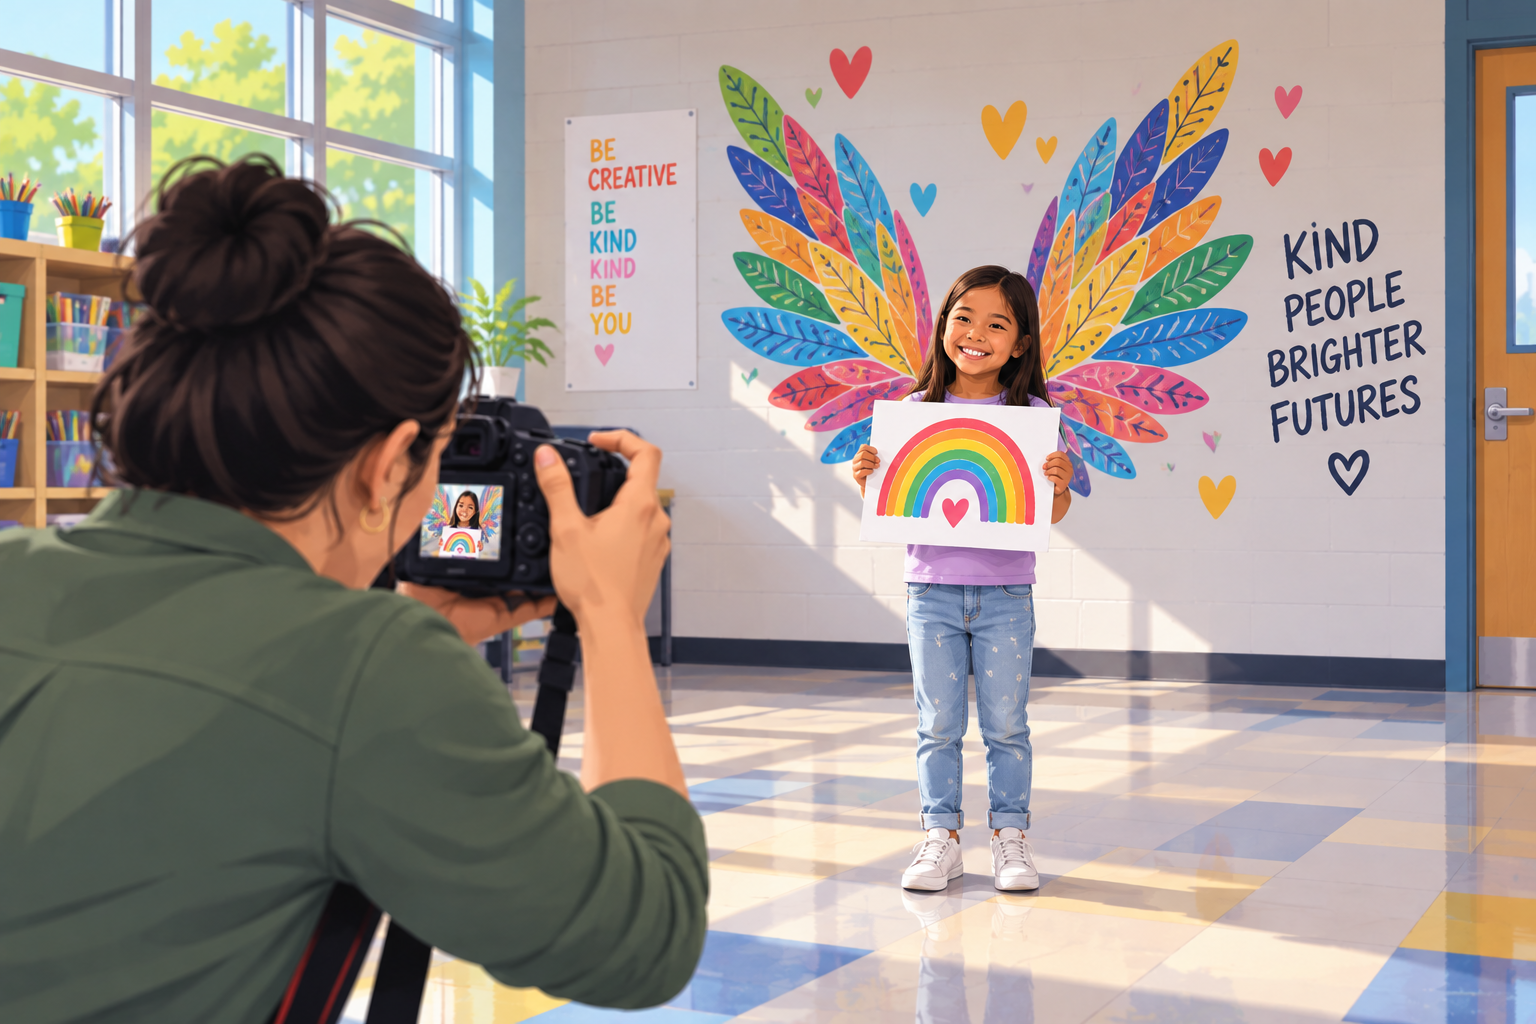
Leave some breathing room around your subjects. Pay particular attention to heads, hands and feet. A tightly framed photograph may look great on your camera but leave almost no flexibility when you place it into a different aspect ratio.
This matters even more on your website. Responsive designs may crop an image differently on a desktop monitor, small laptop, tablet, and phone.
Give the photo enough negative space to survive those changes.
5. Think beyond landscape vs. portrait
You don't necessarily need a landscape and portrait version of every photograph.
You need photographs that give you options.
A high-resolution landscape photo featuring three students might become a vertical crop focused on one of them. A loosely composed portrait might work beautifully as a square social post. The same image might eventually appear in a completely different format you hadn't considered when you took it.
Instead of trying to anticipate every orientation, create photographs with enough resolution, negative space, and compositional flexibility to adapt.
6. Watch what's happening at the edges
Before you press the shutter, scan the entire frame.
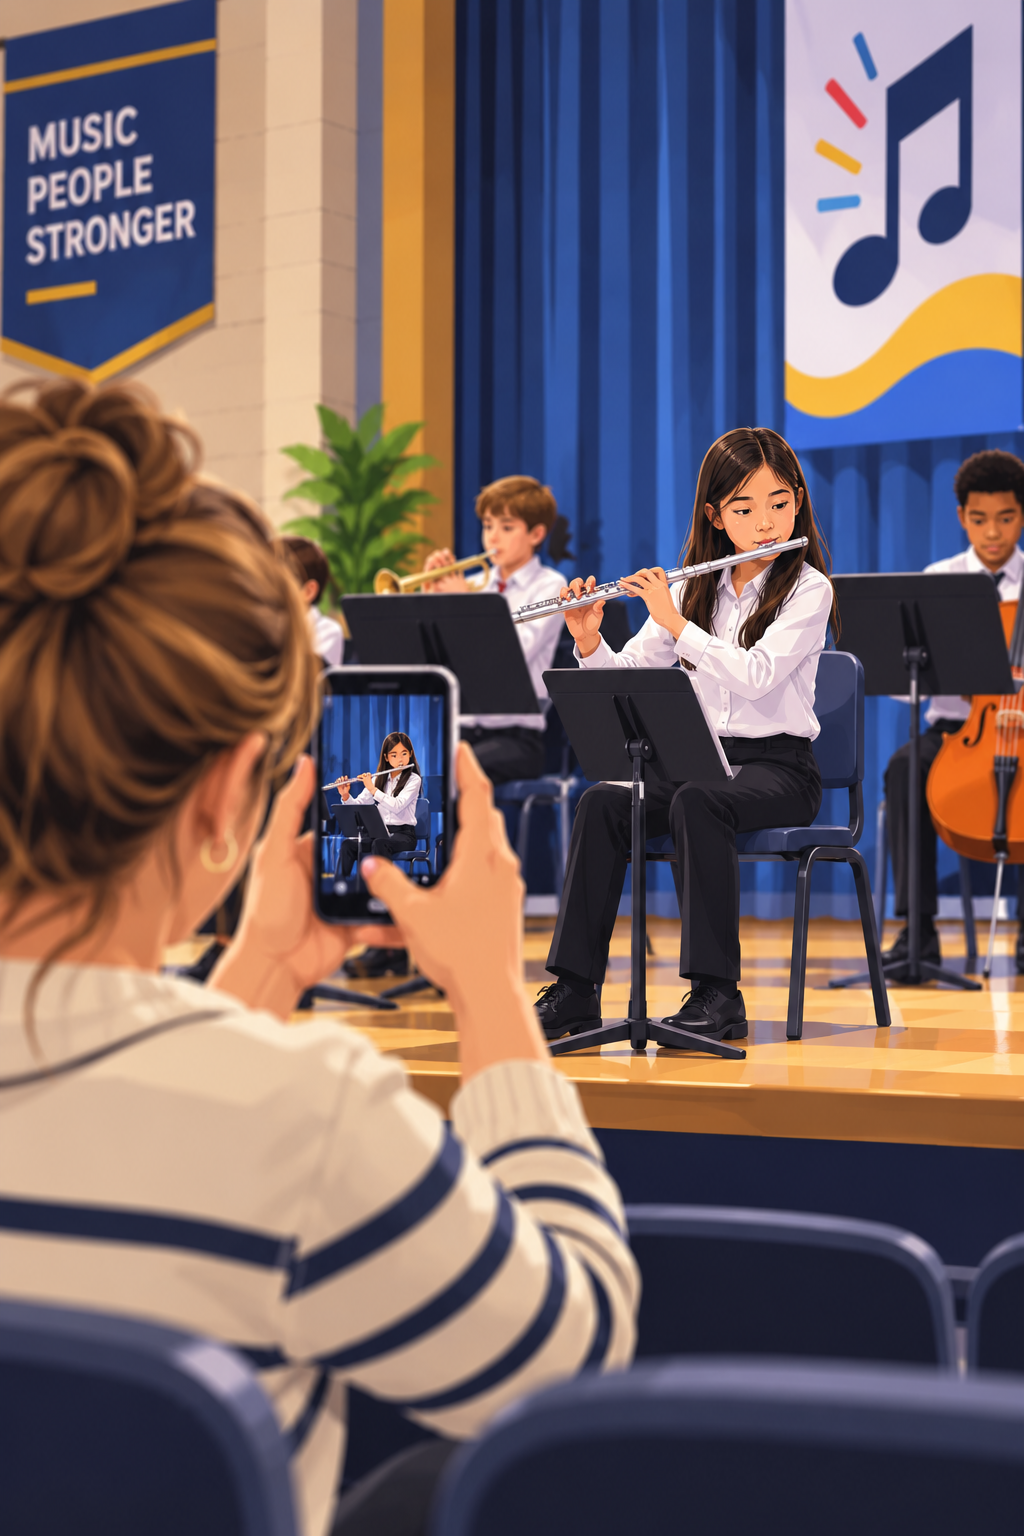
Is half of another student's face creeping in from the side? Is someone's hand floating into the shot? Did you cut off the top of a student's head or leave just enough of another person in the background to make the composition distracting? Is there a garbage truck emptying a dumpster?
When you're focused on your subject, these details are surprisingly easy to miss.
Take an extra second to look at the whole photograph, not just the person you're photographing.
7. Clean up the background
You don't need to stage an entire classroom to improve a photograph.
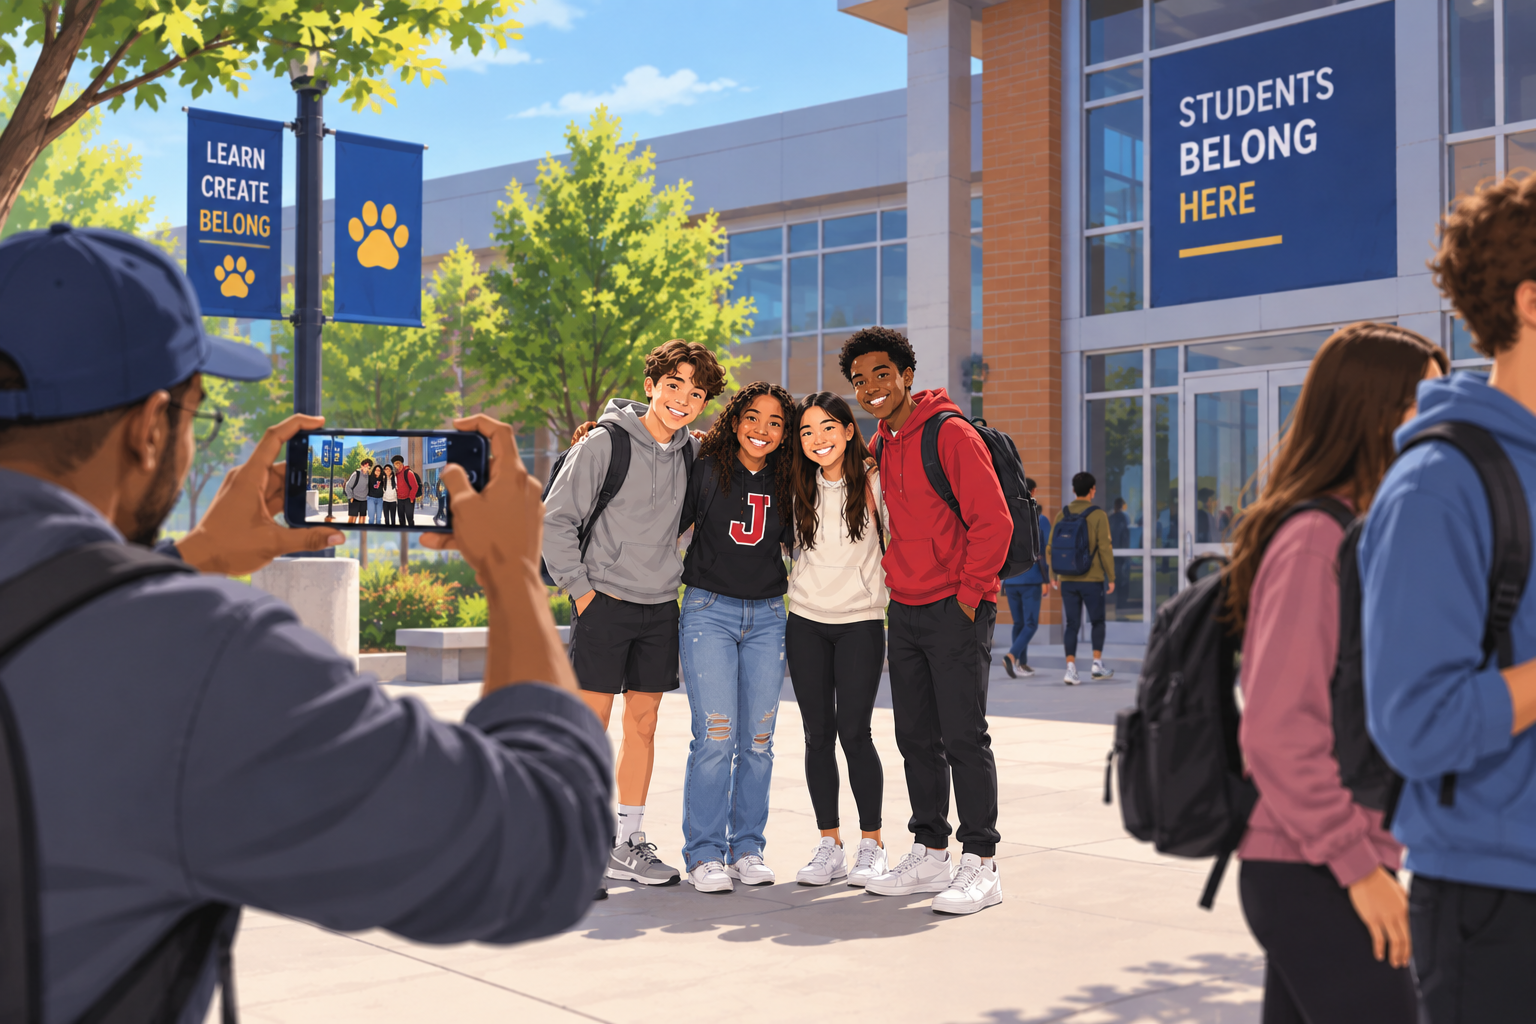
Move the trash can. Pick up the abandoned water bottle. Close the cabinet door. Take three steps to your left, so that the EXIT sign isn't growing out of someone's head.
Pay particular attention to temporary and seasonal items. A pumpkin in the background can turn a great classroom photo into an October classroom photo. A "Welcome Back!" sign can give an otherwise evergreen image a shelf life of a few weeks.
Sometimes the difference between a photo you can use once and one you can use for years is what's happening behind the student.
8. Pay attention to light
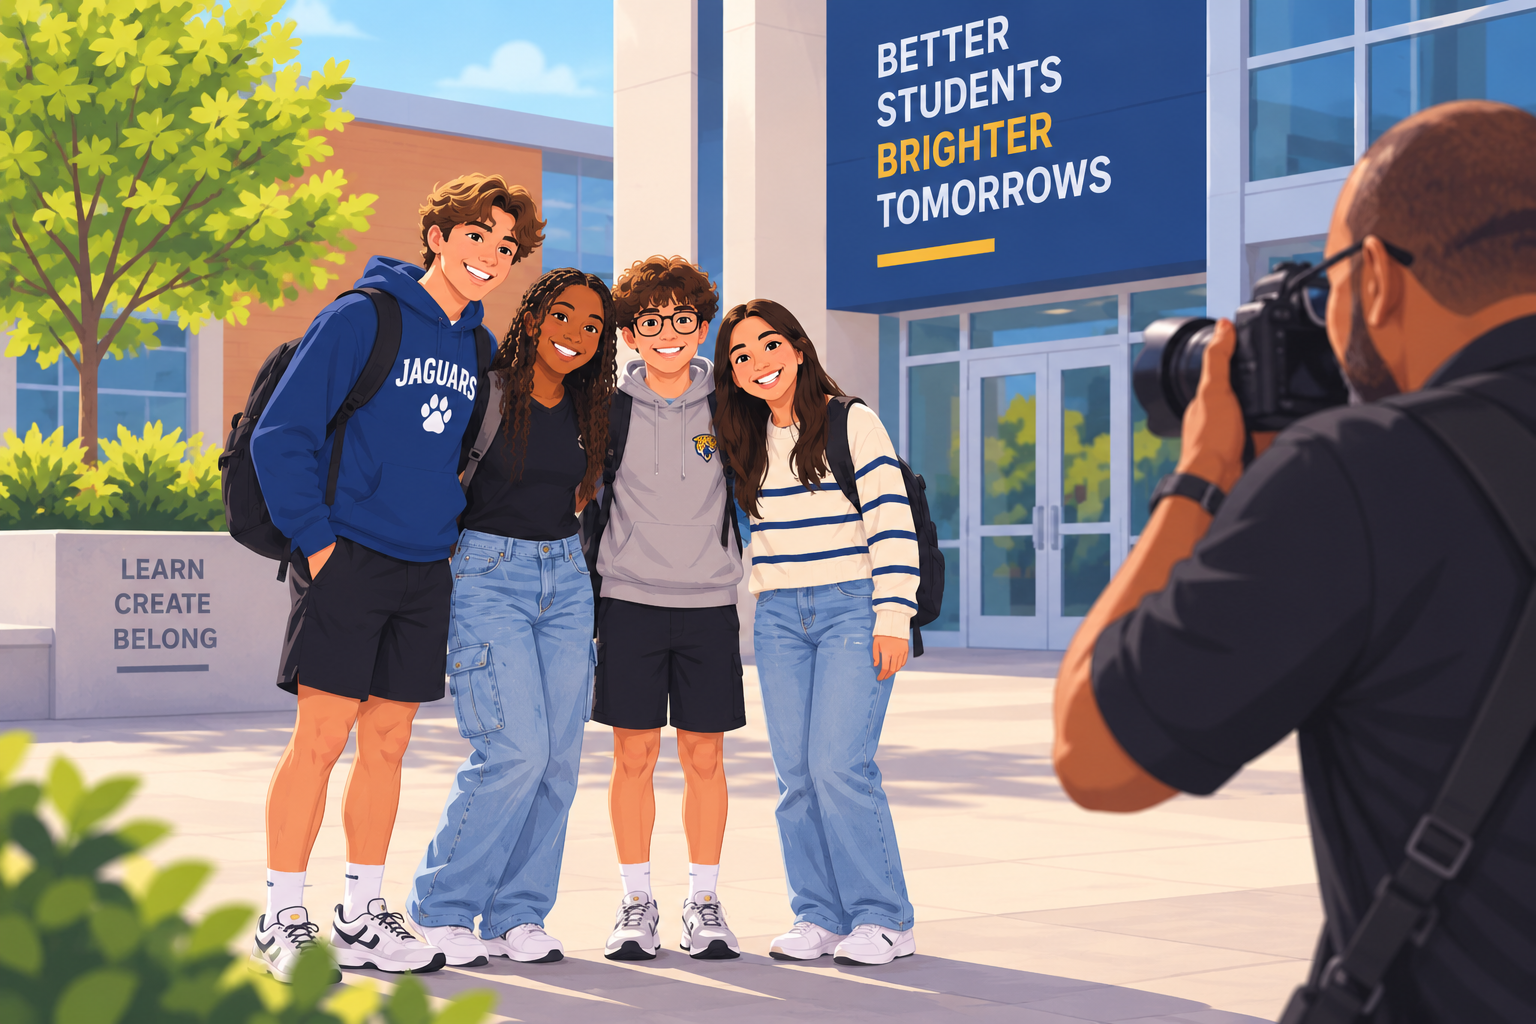
Before you take the photo, look at the light that's already available.
A bright window behind a student can leave their face in shadow. Harsh overhead lighting can create dark shadows under eyes. Direct sunlight can make students squint.
Often, you can improve the photograph simply by moving. Change your angle. Turn the student slightly. Move closer to a window. Step into open shade outside.
You can also adjust the lighting before you take the photo. On a smartphone, tap your subject to set the focus, then adjust the exposure brighter or darker as needed. If you're using a camera, adjust your exposure settings for the conditions you're shooting in.
Make those small adjustments while you're there rather than relying on editing to rescue a poorly lit photo later.
9. Capture the school as it actually looks
The details in your photography communicate something about your school, even when they aren't the subject.
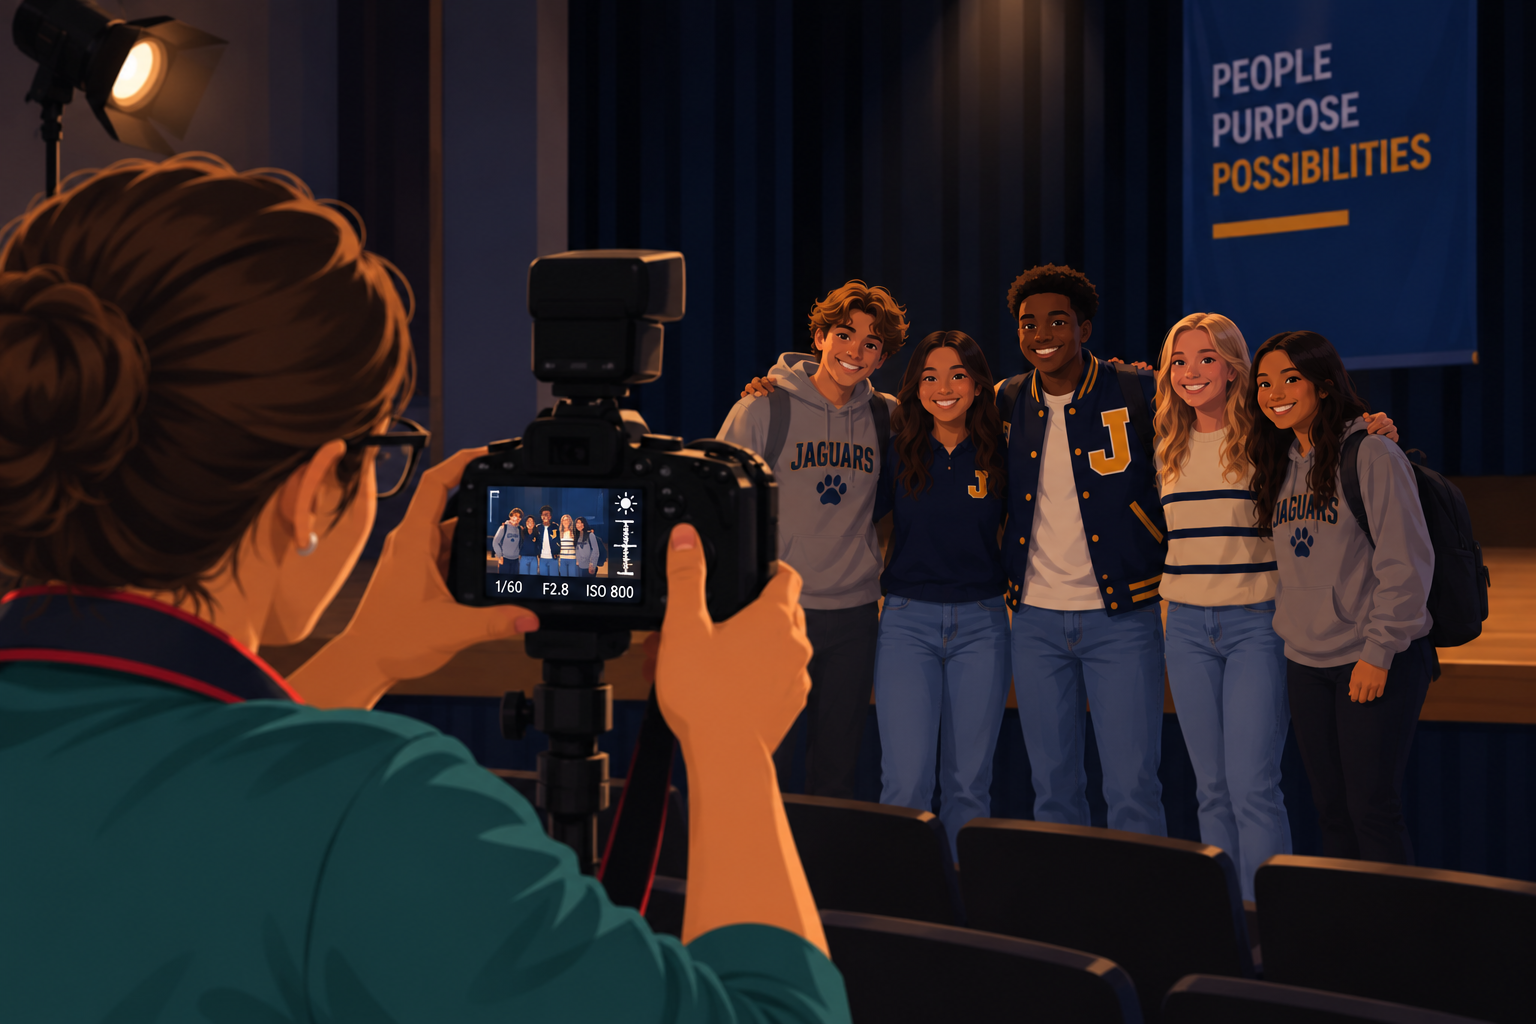
If students wear uniforms, photograph them in uniform. If your district has a dress code, make sure the students featured in marketing photos follow it. If an activity requires goggles, helmets, or other safety equipment, make sure it's visible.
The same goes for who appears in your photos. Your photography should reflect the students who actually attend your schools. If your school community is highly diverse, your photo library should represent that diversity. If your school is predominantly white, don't seek out a token student simply to make a photo appear more diverse than the school actually is.
The photograph should accurately represent the experience families and students will encounter.

10. Protect the photo's shelf life
School communicators move quickly enough without replacing good photography unnecessarily.
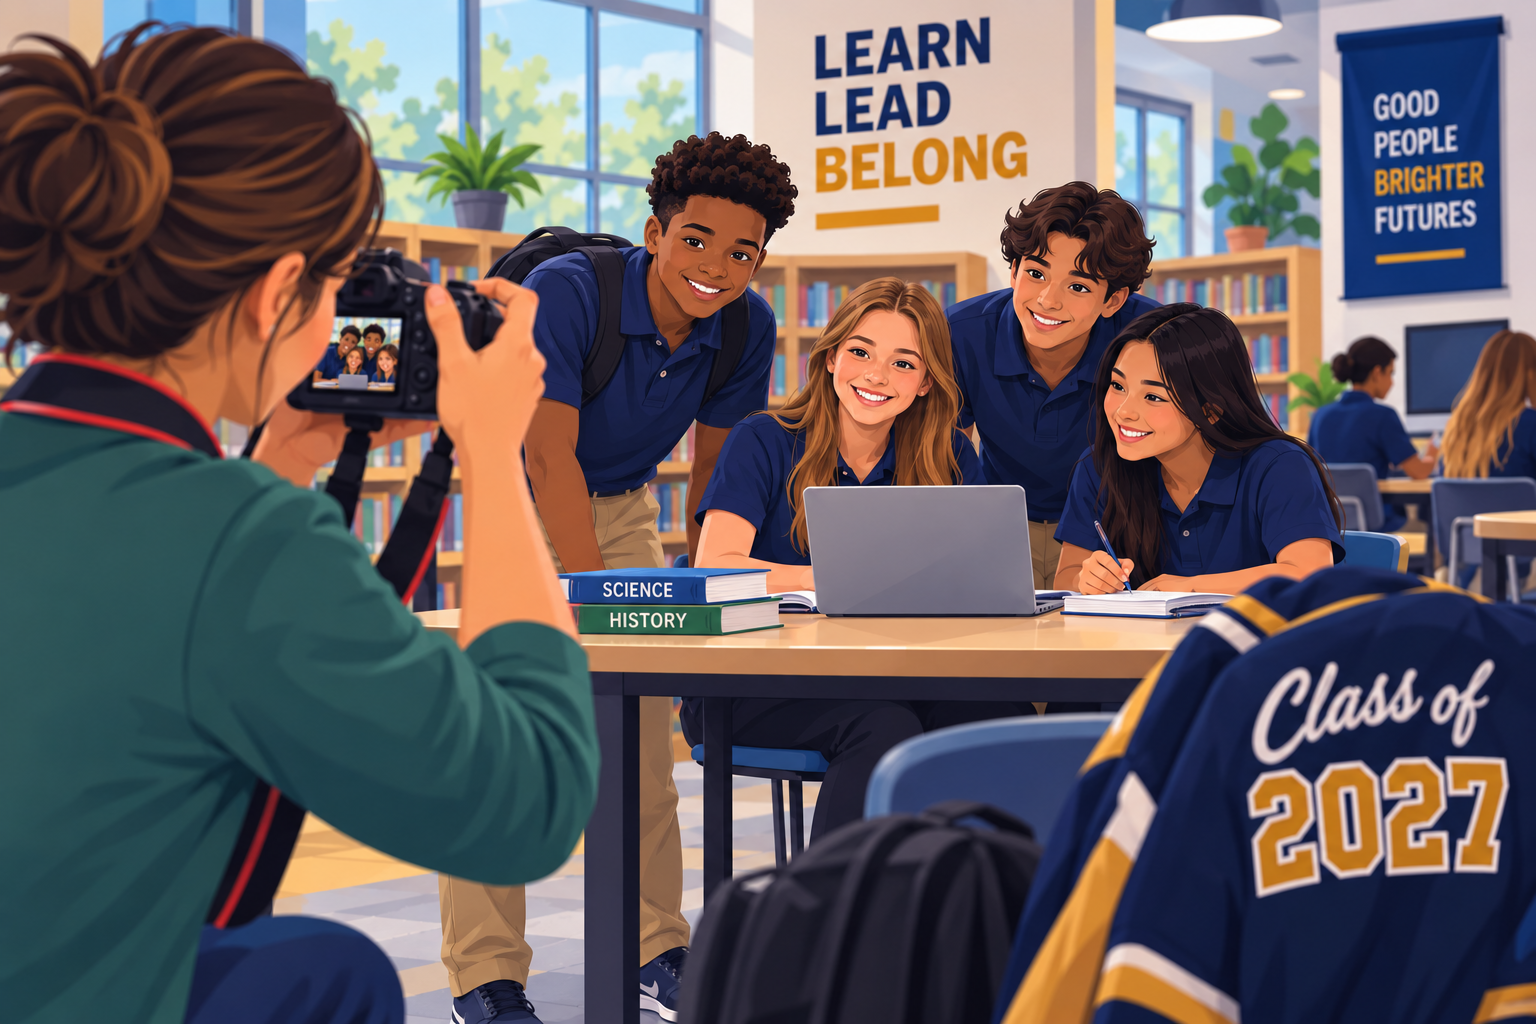
Look for anything that dates the photograph: class years, calendars, seasonal decorations, event signage, holiday clothing, or a whiteboard prominently displaying today's date.
You don't need to eliminate every clue that a photograph was taken at a particular moment. You do want to avoid details that prevent you from reasonably using it later.
An authentic first-day-of-school photo doesn't have to be useful only on the first day of school.
11. Keep the highest-resolution version
You can always shrink a large image.
Going the other direction is considerably harder.
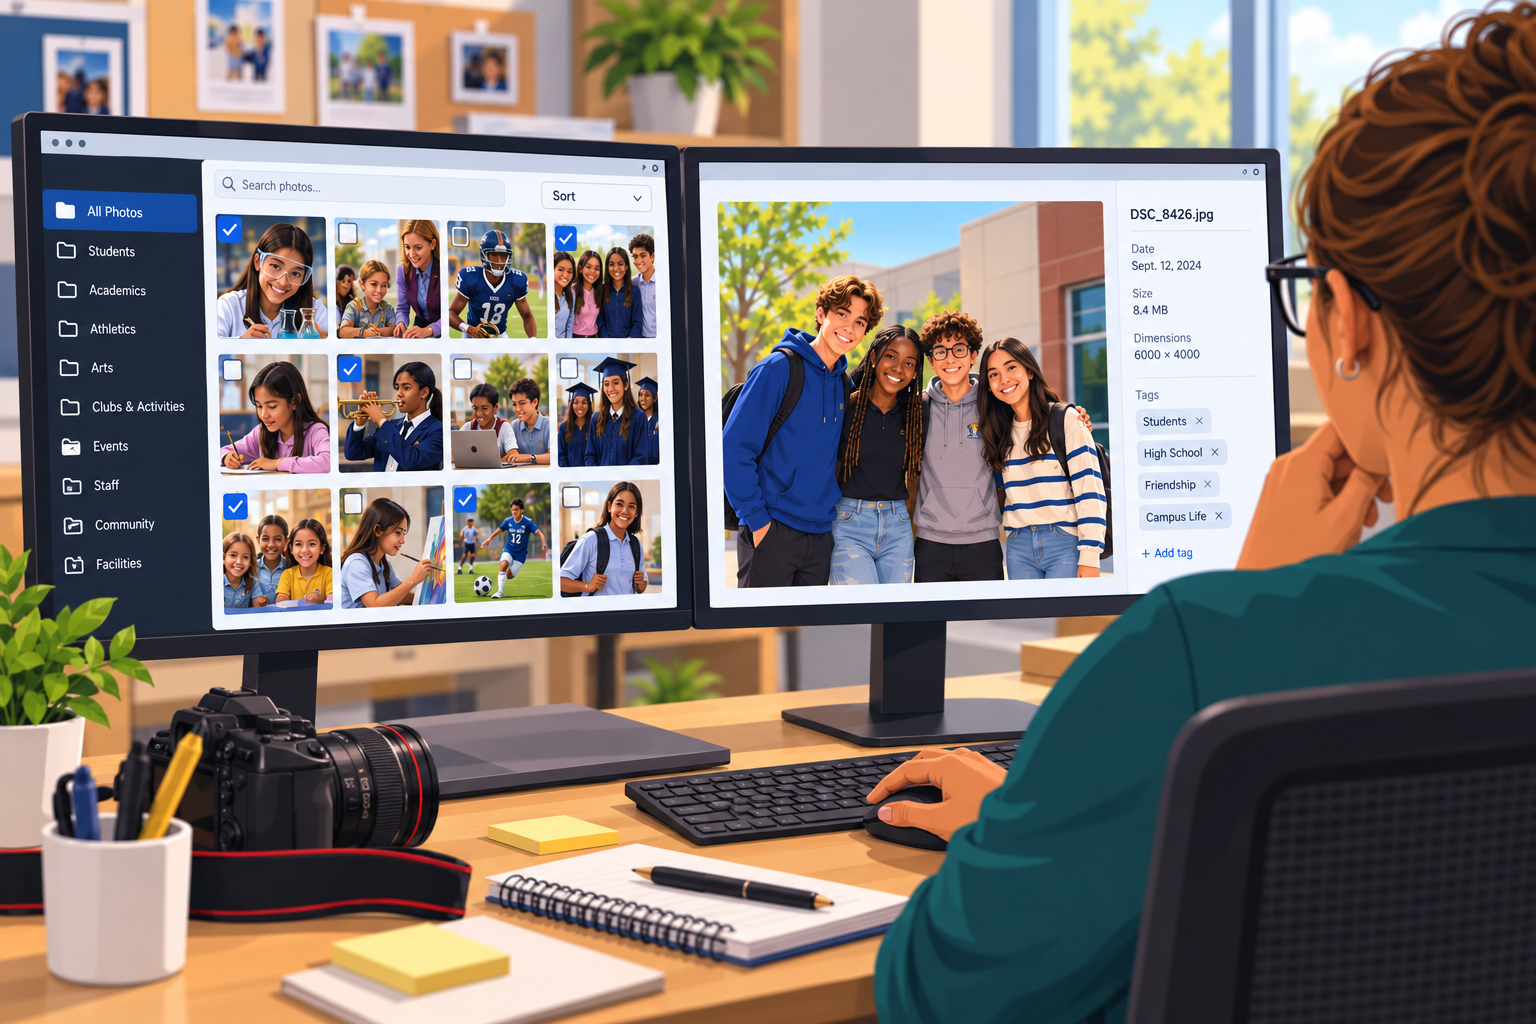
Capture photos at the highest practical resolution available, then preserve that resolution throughout your workflow. When you upload the image to your digital asset management system, upload the original, full-resolution file.
And when your phone, email app, or another service helpfully asks whether you'd like to reduce the file size to save space or speed up the upload, the answer is no.
Don't compress your best photo before it even reaches your library. Keep the highest-resolution original in your DAM and create smaller versions when you actually need them.
Give your future self the pixels.

12. Build variety into the library
A useful school photo library shouldn't consist entirely of one to three students smiling at the camera.
Capture those photos. Then keep going.
Photograph a student concentrating on a project. Capture two students working together. Step back and show the classroom environment. Move closer and photograph the hands building, painting, writing, or creating. Capture a teacher interacting with students. Look for the small moments that show what learning actually feels like.
Over time, you're building a visual vocabulary for your school or district. The more varied that vocabulary is, the more stories you can tell.
13. Know that you can use it
The perfect photograph isn't particularly useful if you can't publish it.
Know your school or district's policies for student photography and publication. Make sure appropriate permissions are in place, and that photographers know how to identify students who cannot be photographed or whose images cannot be published.
That process should happen before the camera comes out, not when someone wants to use the photograph six months later.

14. Shoot for more than one use
A great photo should give you options. Leave enough room around the subject to create a wide website banner, a square social media post, a vertical story or reel, a digital ad, or a print piece from the same original image. Think about where the subject sits within the frame and what will remain if you crop from the top, bottom, or either side. The more flexibility you build into the original composition, the more mileage you can get from the photo.

Take the photo for today. Build the library for tomorrow.
You don't need to know that a photo will eventually become a homepage hero, a Facebook ad, or the cover of an annual report while you're standing in a third-grade classroom taking it.
You need to leave yourself options.
Get closer. Change your perspective. Watch your lighting and background. Leave some room around the subject. Capture the highest-quality image you can and preserve that quality when you store it. Most importantly, photograph students in ways that authentically show who they are and what they're experiencing.
Because the best photo you take today may be exactly the one you need three years from now.
Published on: September 20, 2026